March 21, 2026
Installing an air conditioning unit is a significant task that requires careful planning and execution. This article will guide you through each step to ensure a professional and efficient ac installation process, maximizing the performance and longevity of your system.
Planning Your Installation
Assessing Your Cooling Needs
Before purchasing an air conditioning unit, it is essential to assess your specific cooling needs. Consider the size and layout of your space, as larger areas may require units with higher BTUs (British Thermal Units) to cool efficiently. Additionally, account for the number of occupants and any heat-generating appliances present. A proper assessment will clarify whether a central or ductless mini-split system would best suit your needs. Proper evaluation can prevent inadequate cooling capacity, ensuring comfort and reducing energy consumption.
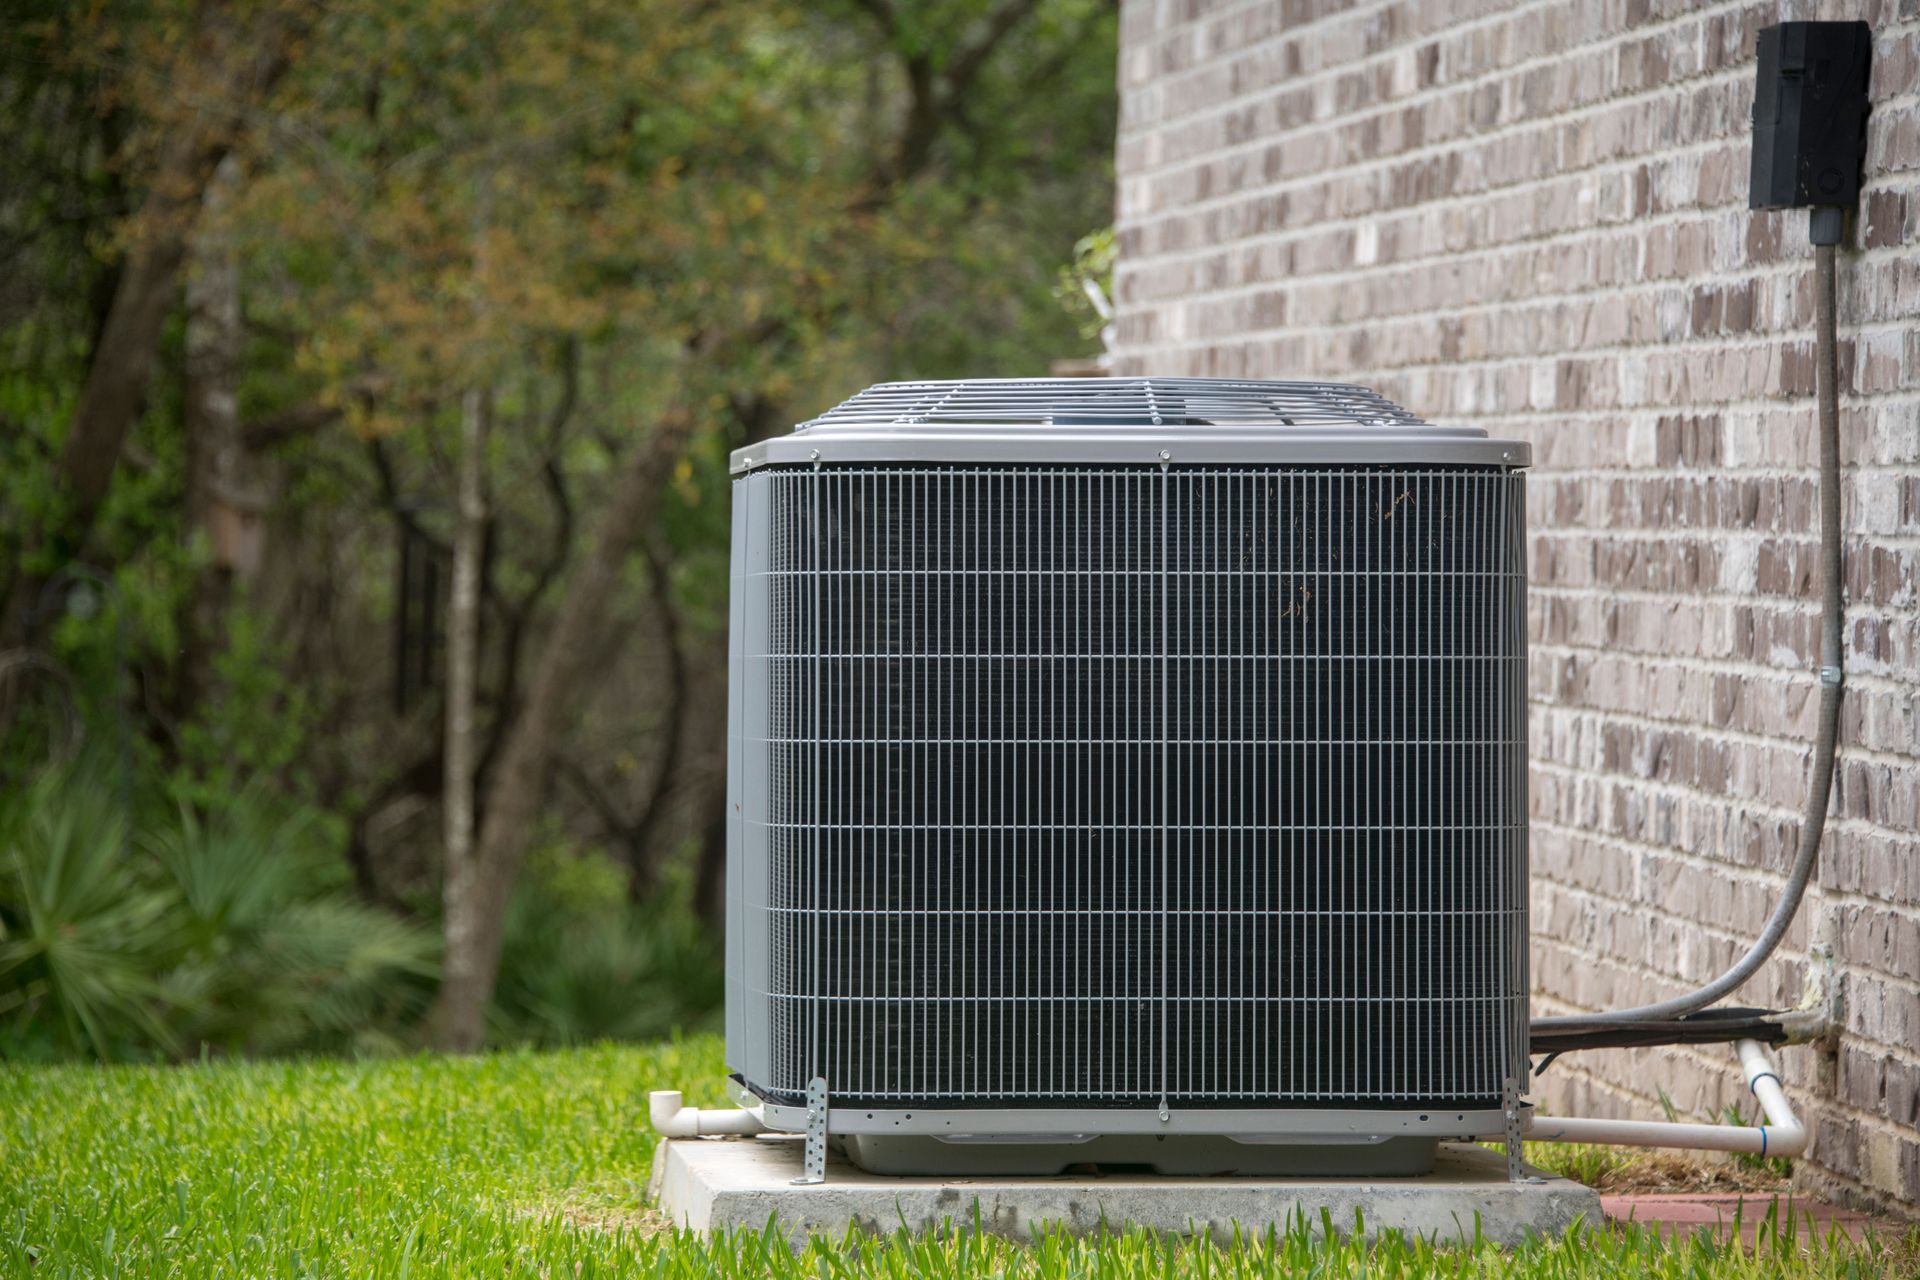
Determining the Best Location for Installation
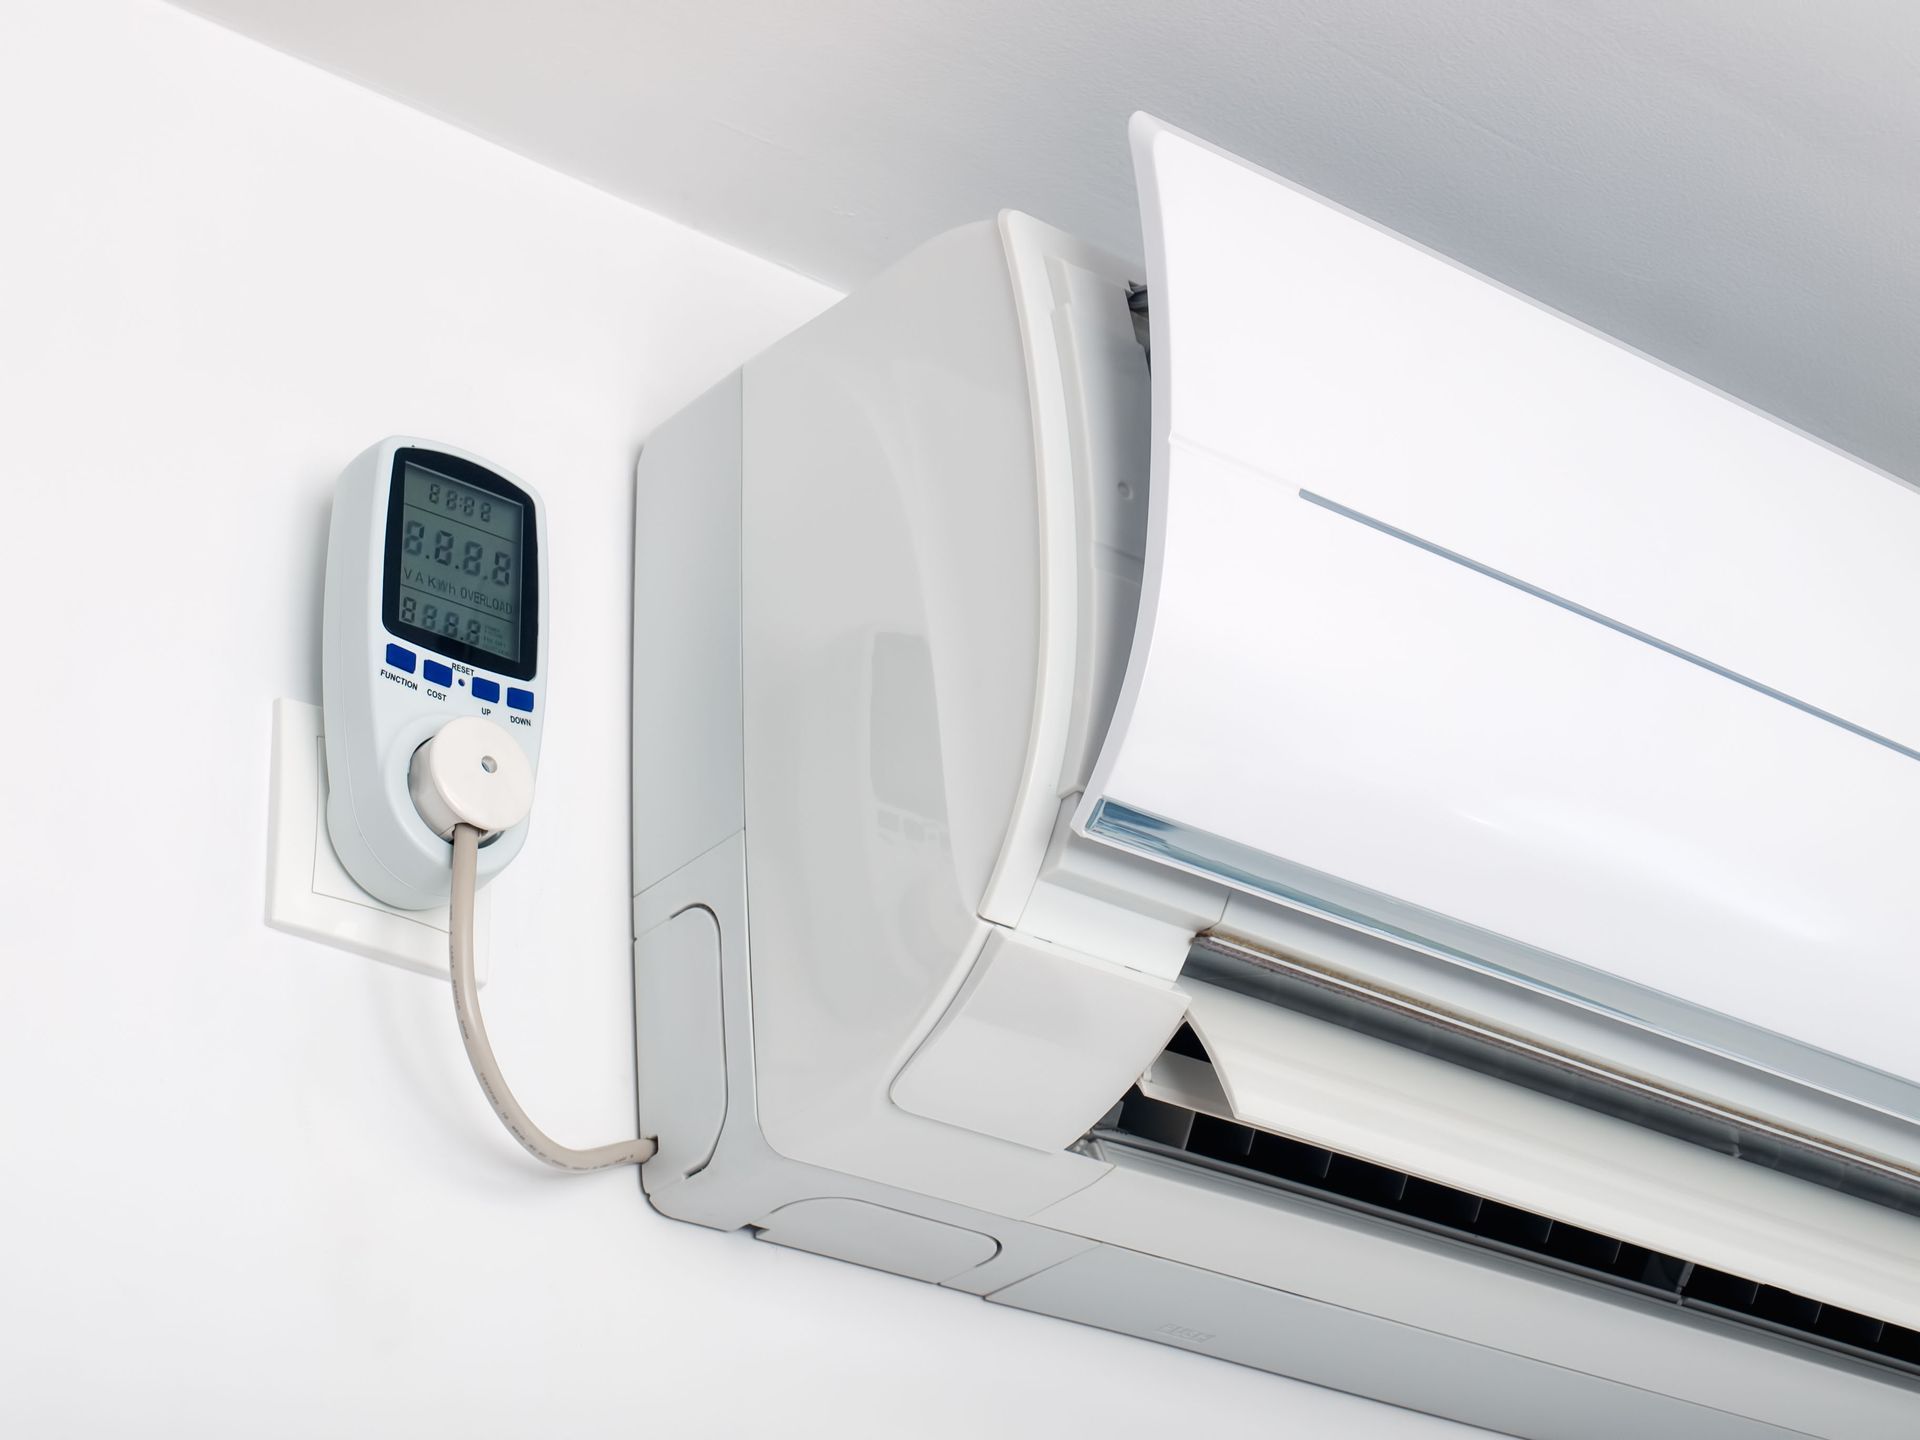
Choosing a strategic location for your AC unit is paramount for its performance. The indoor unit should ideally be mounted centrally to distribute air evenly throughout the space. For outdoor units, a shaded and well-ventilated area can improve efficiency by reducing heat exposure. Avoid positioning near obstructions that could hinder airflow, like walls or fences. Proper placement enhances system efficiency and can reduce future maintenance issues, as accessibility is crucial for routine check-ups and repairs.
Creating a Budget Plan
Formulating a comprehensive budget plan can help in managing costs associated with AC installation. Consider expenses such as the cost of the unit, installation materials, and potential labor fees if hiring professionals. Allocate funds for unexpected issues that could arise, like upgrading electrical systems or structural modifications. Setting a budget allows for better financial management and prevents overspending. According to HomeGuide, AC repairs can take one to eight hours, depending on which part needs fixing or replacement, reflecting the potential for unforeseen costs in ac installation.
Gathering the Necessary Tools and Equipment
Gathering Essential Hand Tools
Having the right hand tools is critical for a smooth installation process. Basic tools such as screwdrivers, pliers, a tape measure, and a level will be necessary to perform most tasks during installation. Additionally, a drill and bits may be needed for mounting brackets and creating passage through walls. Using quality, well-maintained tools can prevent accidents and ensure precision. Preparation with the correct tools reduces installation time and enhances the quality of work, minimizing the need for corrections.
Gathering Specialized AC Installation Tools
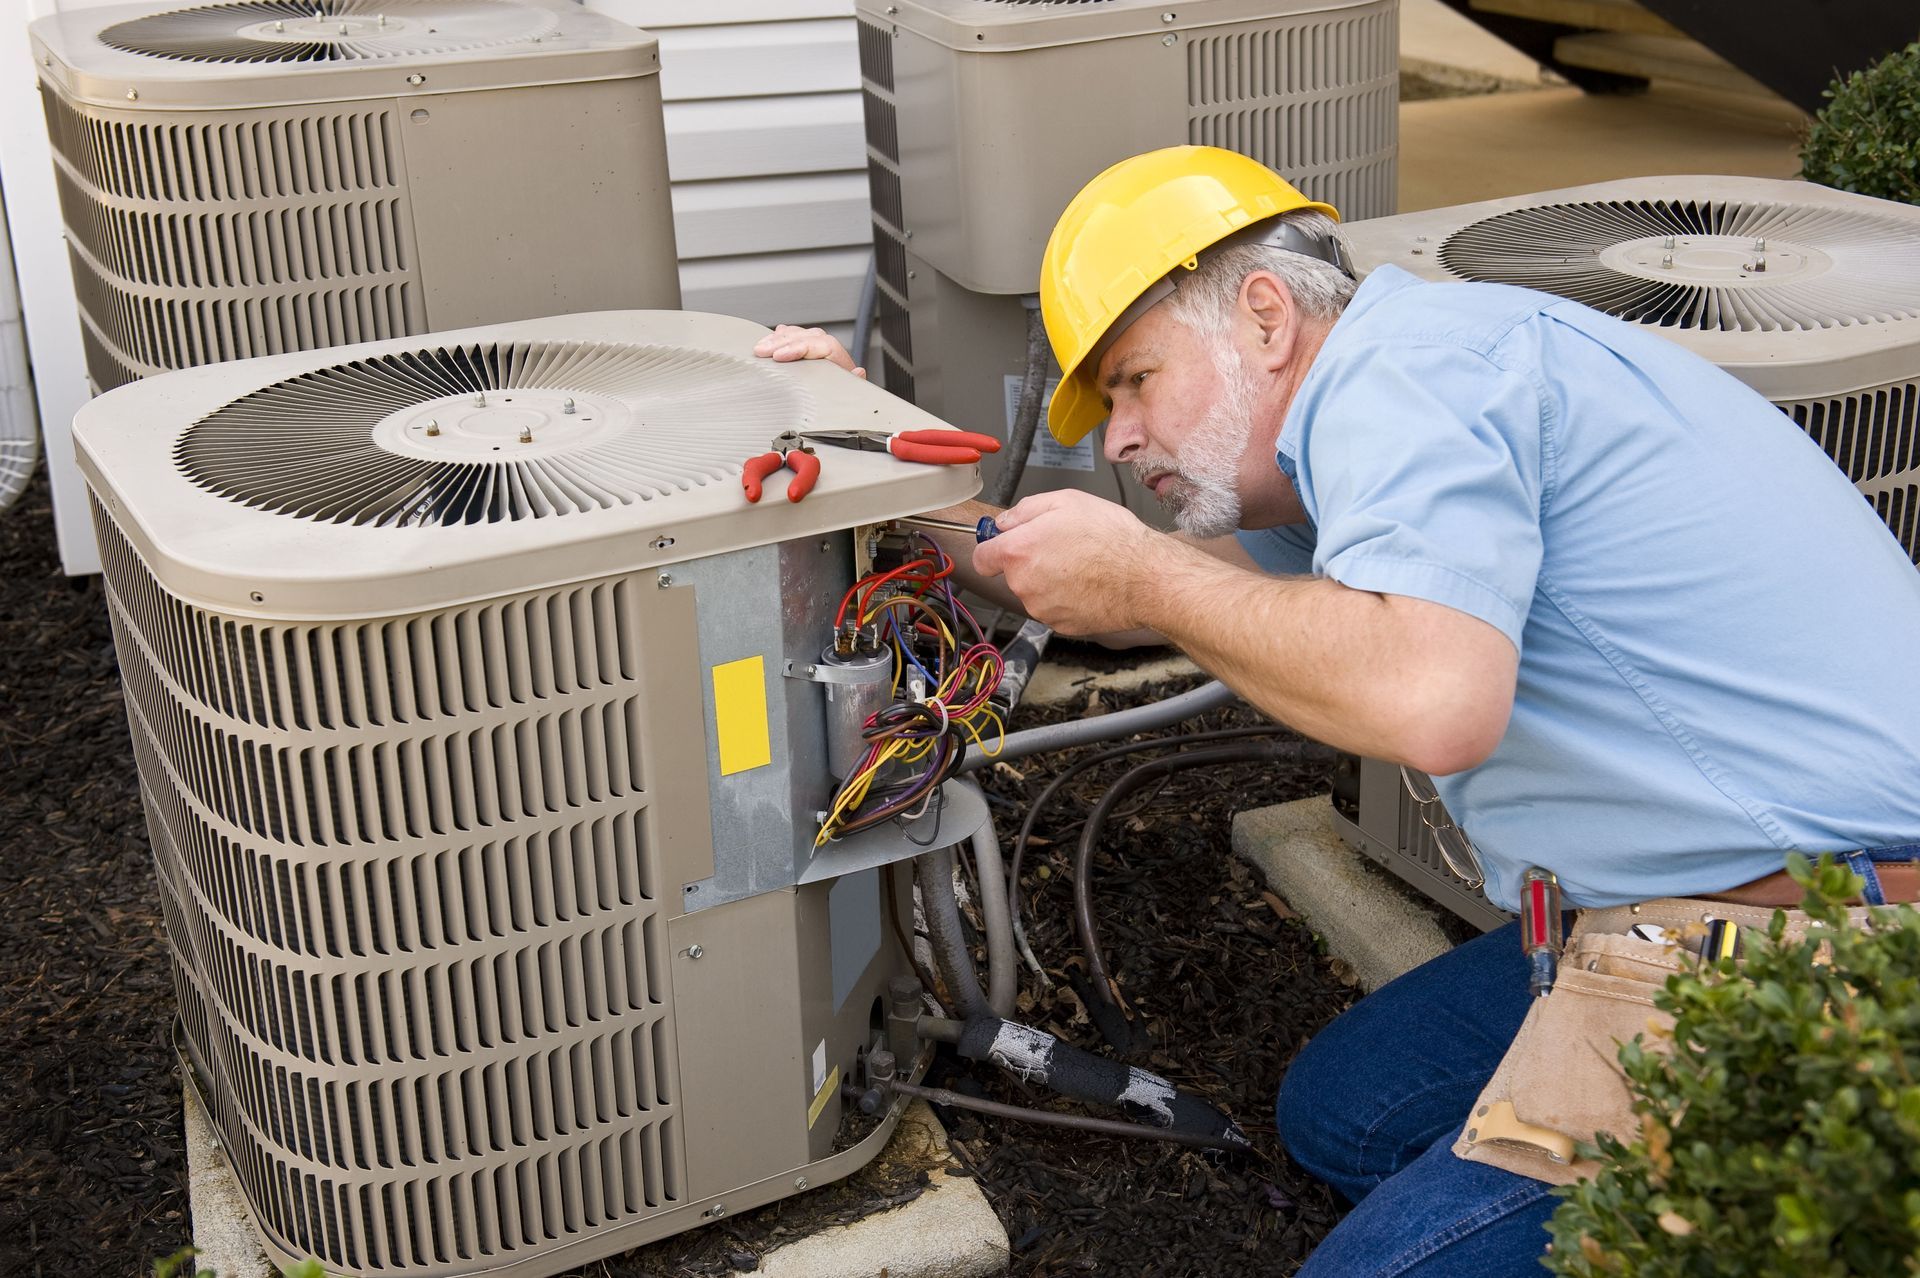
In addition to basic hand tools, specialized AC installation tools may be required. A vacuum pump, manifold gauge set, and refrigerant scales are crucial for dealing with refrigerant lines and ensuring proper system charging. Specialized tools like flaring kits may be necessary to connect the piping efficiently. Proper use of these tools guarantees that installations adhere to professional standards. Investing in or renting these tools can significantly influence the efficiency and quality of the installation process.
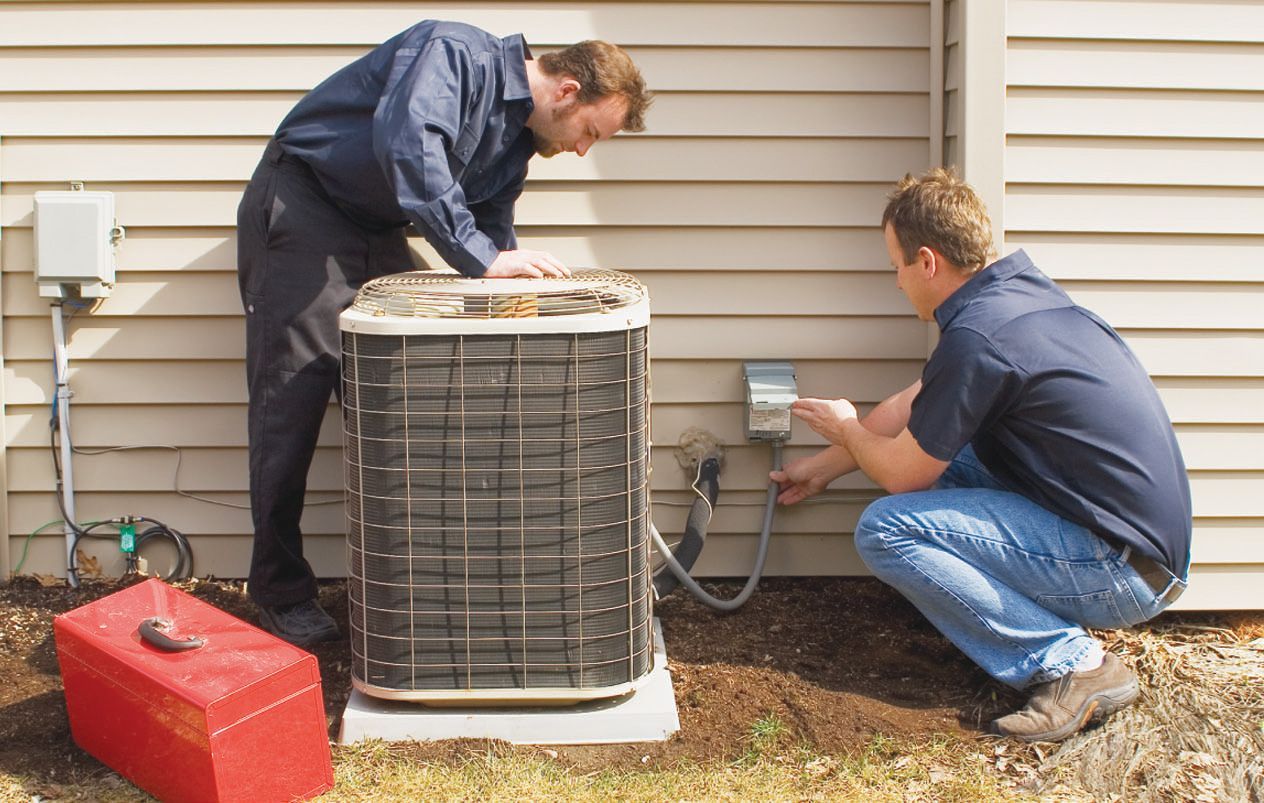
Arranging Additional Help if Needed
Depending on the complexity, additional help may be necessary to facilitate the installation process. An extra pair of hands can be invaluable for positioning heavy equipment and securing components accurately. Professional assistance may be particularly beneficial when dealing with electrical work or refrigerant handling, which can be hazardous without proper expertise. Even minor tasks can benefit from collaborative efforts, ensuring swift progress. Coordination with skilled helpers ensures not only efficiency but also installation quality and compliance with safety standards.
Preparing for the Installation
Ensuring Existing Systems Are Compatible
Compatibility with existing HVAC systems is a key consideration before beginning installation. If replacing or integrating with current systems, ensure that the new unit aligns with existing ductwork, electrical wiring, and ventilation. Check that the amperage, voltage, and phase match between the unit and your home’s electrical system to avoid malfunctions. Compatibility checks may necessitate upgrades or adjustments to ensure optimal performance. Addressing these alignments upfront can avert significant technical setbacks during installation.
Shutting Off Power to the Installation Area
Prior to commencing any AC installation work, shutting off power to the relevant areas is essential to ensure safety. Locate the appropriate circuit box and switch off the power supply to eliminate electrical hazards. This safety precaution is particularly critical when dealing with AC systems, as they involve extensive electrical components. Once the power is securely off, work can proceed without the risk of electrical shock. During installation, regular checks ensure the power remains disconnected until work is complete, maintaining a safe environment.
Cleaning the Area for Efficient Work
A clean working environment contributes significantly to the efficiency and safety of the installation process. Removing debris, dust, and obstacles from the installation area prevents potential accidents and allows easy access to all components. Ensure that surfaces around the indoor and outdoor units are stable and clear, which aids in precise measurements and placements. Clean conditions also provide better working conditions, enhancing the accuracy of tasks performed. Organized spaces facilitate smoother workflow and lessen the chances of damaging equipment or components during installation.
Installing the Indoor Unit
Mounting the Bracket
Mounting the bracket for the indoor unit requires precision and adherence to marked layout points. Ensure that the wall where the bracket is mounted can support the weight and is free of obstructions. Use a level to align the bracket horizontally and vertically to avoid tilt and uneven load distribution. Secure the bracket with appropriate anchors or screws, ensuring it is firmly attached. Properly aligning and securing the bracket guarantees stability and ease during the installation of the indoor unit.
Connecting the Refrigerant Lines
Connecting the refrigerant lines is a critical step that requires careful attention to detail. Use a flaring tool to prepare the lines and ensure tight, leak-proof connections between the indoor unit and the lines. Avoid kinks and bends in the lines, securing them along the predetermined path to prevent leaks or pressure drops. Lubricate the fittings slightly to facilitate smooth and clean connections. A leak-proof connection not only ensures efficient cooling but also prevents environmental hazards related to refrigerant leakage.
Attaching the Drain Line
Proper installation of the drain line is essential to facilitate efficient water removal from the indoor unit. The drain line should descend with a steady slope to ensure optimal gravity drainage, preventing potential water buildup and leaks. Carefully connect the line to the central drain system or an outdoor safe disposal area, securing each section with clamps as necessary. Preventing water overflow protects both the unit and surrounding areas from damage. Precise alignment of the drain line results in effective moisture control, crucial for indoor air quality maintenance.
Properly installing an air conditioning unit involves careful planning, the right tools, and attention to detail to ensure long-term performance and efficiency. By assessing your cooling needs, preparing the installation area, and following each step methodically, homeowners can achieve a safe and effective setup. Understanding these essential steps minimizes errors, maximizes system lifespan, and maintains comfort throughout your home. Additionally, proper installation helps improve energy efficiency, reduces the risk of costly repairs, ensures consistent temperature control, and enhances indoor air quality. Following manufacturer guidelines and safety protocols also prevents potential hazards, giving homeowners confidence in their system’s reliability and long-term performance.
For homeowners who want peace of mind and professional precision, partnering with experienced technicians is invaluable. Contact Four Seasons Air Systems today to schedule a consultation or an ac installation service and ensure your air conditioning system operates efficiently all year round.